
How to Clean Rental Ceilings for a Final Inspection
Key Takeaways
- Check the ceiling condition before starting any cleaning
- Remove cobwebs and loose dust before using moisture
- Use gentle cleaning solutions on painted ceilings
- Avoid soaking plasterboard or textured ceiling surfaces
- Treat mould carefully and identify possible moisture problems
- Clean ceiling fans, vents and light fittings separately
- Compare the finished ceiling with your entry condition report
- Take final photos after completing the cleaning
- Do not attempt repairs or repainting without permission
- Consider professional help for difficult stains or high ceilings
Moving house involves more than packing up and cleaning easy-to-reach surfaces. Ceilings are often overlooked, even though they can collect dust, smoke residue and stains over time. When preparing for a final rental inspection, ceiling cleaning is an important part of a thorough bond clean in Brisbane. Since ceilings are above eye level, dirt and discolouration can easily go unnoticed. However, these marks can affect the overall appearance of the property and make it look less clean.
In this blog, the main focus will be on how to clean rental ceilings both safely and quickly without making a mess and then how to return these. Besides that, you will also find out what cleaners should be used, what methods can be employed to remove most types of marks and at what point in time professional cleaning service is worth calling.
Check The Ceiling Condition First
Clean only after visually examining that part of you which is a lot higher than the head. Look for anything like cobwebs, dust stains, mould water stains and fading of colour. You should mainly check the corners, the edge of the ceilings and the areas around the light fixtures. Besides that, it is important that you don’t forget to check the walls of the bathrooms, the kitchens and laundry rooms which tend to develop water related problems. These are the places where a visible water stain due to excess humidity is most likely to occur. Equivalent obligations differ between the states and territories of Australia.
Gather The Right Cleaning Tools
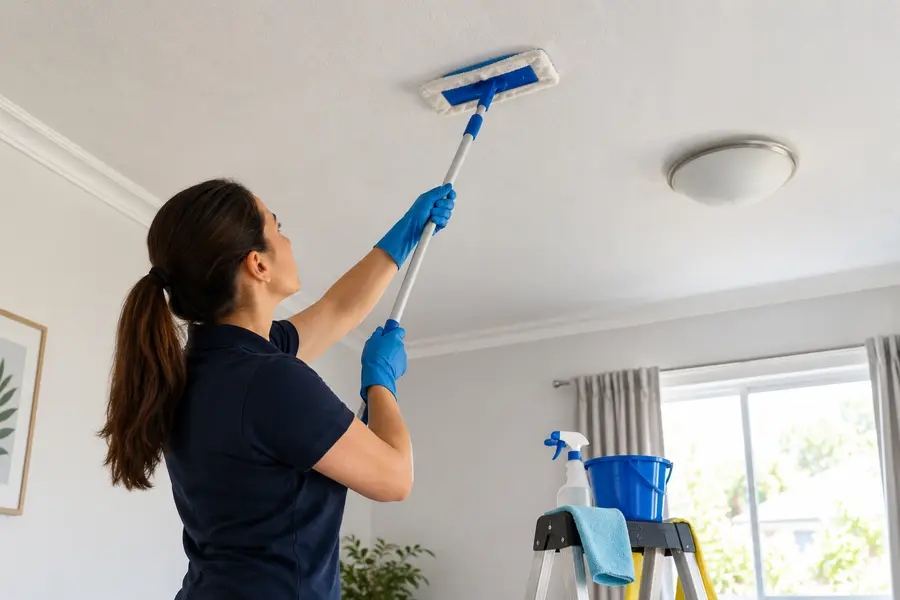
The equipment appropriate makes safer and faster the cleaning of ceiling. You don’t usually need any harsh chemicals. A microfibre duster, soft brush, vacuum cleaner with brush attachment and clean microfibre cloths make an excellent set for your beginning. It’s good to keep a bucket, mild detergent and some clean water ready to tackle washable surfaces.A solid step ladder can be useful for accessible places. Nonetheless, never stretch out or lean over too far when you’re scrubbing. Electrical fixtures should be turned off before you clean around them. Do not spray any liquid directly on to lights, fans & electrical fittings instead spray the liquid on to a clean cloth.
| Ceiling problem | Recommended approach |
| Loose dust | Microfibre duster |
| Cobwebs | Soft brush or vacuum |
| Light surface marks | Damp microfibre cloth |
| Greasy kitchen marks | Mild detergent solution |
| Small mould spots | Suitable mould cleaner |
| Water stains | Investigate the moisture source |
| High ceilings | Extendable cleaning tool |
Remove Dust And Cobwebs
If the surface of your ceiling shows no signs of wetness, begin by cleaning it dry, so to speak. Dry-cleaning is the way to go until it comes to water. Take a microfibre duster that gently glides the ceiling. Carry out the dusting so to speak, moving from the corners up along the walls towards the middle of the ceiling. Pay a lot of attention to ceiling cornices and the areas where walls meet the ceiling. The truth is that these are the prime places in which cobwebs can form because they are not cleaned during the usual cleaning. Ceiling cleaning should also occur before final floor cleaning. Falling dust can otherwise undo your work.
Clean Marks Without Damage
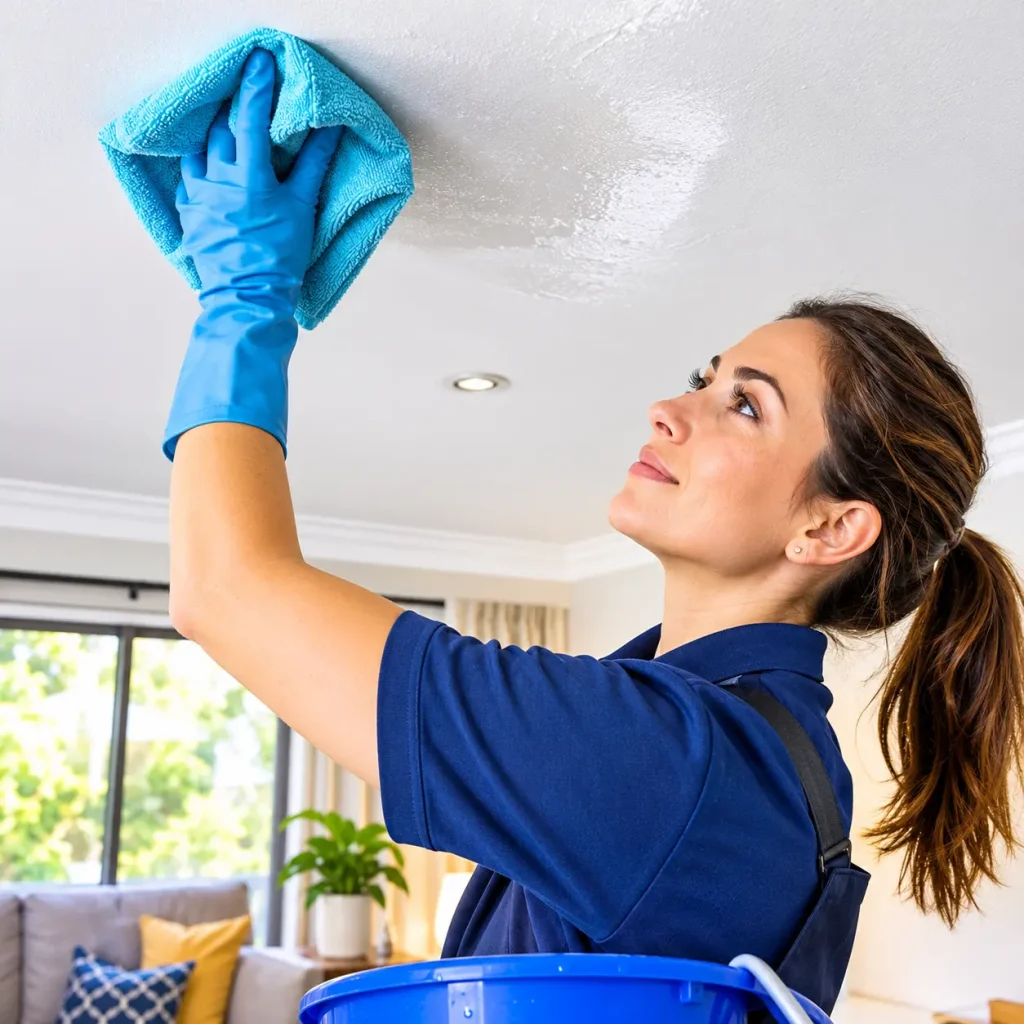
Once the loose dust is removed, check for any remaining marks. Painted ceilings require gentle cleaning, so mix a small amount of mild soap with warm water. Dampen a clean microfibre cloth and wring it out thoroughly. Test the solution on a small, hidden area first. Gently wipe the surface without applying too much pressure, as repeated scrubbing can affect the paint finish. Avoid soaking the ceiling, as excess moisture may cause staining or damage. If needed, use a mild degreaser suitable for the painted surface, especially when preparing a property in Brisbane for inspection.
Handle Mould And Water Stains
You should not use harsh chemicals recklessly unless the product clearly states that it is suitable for the specific surface. Always do a test patch with the new product on a very small and well-hidden or unnoticeable area before applying it on the big surface. In such instances, contact the property owner or rental provider. Consumer Affairs Victoria urges tenants to report mould, damp and the like especially if this may involve building fabric. Don’t just paint over mould or water damage. You may also need to get permission to do repairs or repaint. In the case of heavy damage to a ceiling, take pictures. This makes for a handy record before a final walk through.
Clean Fans, Vents And Fittings
Cleaning to the ceiling should also be extended to surrounding, adjacent fixtures. A surprising amount of dust can collect on ceiling fan blades. Turn the fan off and using a dry or slightly damp microfibre cloth, wipe each blade. Do not spray any liquid in close proximity to the motor or on the electrical parts. Dust can also accumulate in bath fans too. Clean any accessible casing in accordance with manufacturer’s instructions.Dish grout kitchen exhaust vents get dirt and grease buildup. A final check concentrates on cleanliness but leave the electrical work to the electricians If a fitting is broken or dangerous, report it don’t try and fix it yourself.
Avoid Common Cleaning Mistakes
A few errors can complicate the cleaning of a ceiling or cause additional difficulties. Too much water is one of the greatest hazards. Certain types of ceilings can be stained and you can get water marks. Potent chemicals may have an impact on paint finishes, too. Don’t use abrasive sponges on painted walls. They will leave dull spots and possibly take paint off. The same applies to textured ceilings. Pressing too tightly when wiping them will likely do more harm than good so you really don’t want to do that. A common error people make is to just wipe the center of the ceiling while there may be dirt near edges or corners or even on cornices and fixtures.
| Common mistake | Better approach |
| Soaking the ceiling | Use a lightly damp cloth |
| Scrubbing hard | Wipe gently |
| Ignoring corners | Clean edges and cornices |
| Spraying near lights | Apply product to the cloth |
| Painting over mould | Report underlying problems |
| Using harsh chemicals | Choose a suitable mild cleaner |
| Ignoring high areas | Use an extendable tool |
Complete A Final Inspection Check
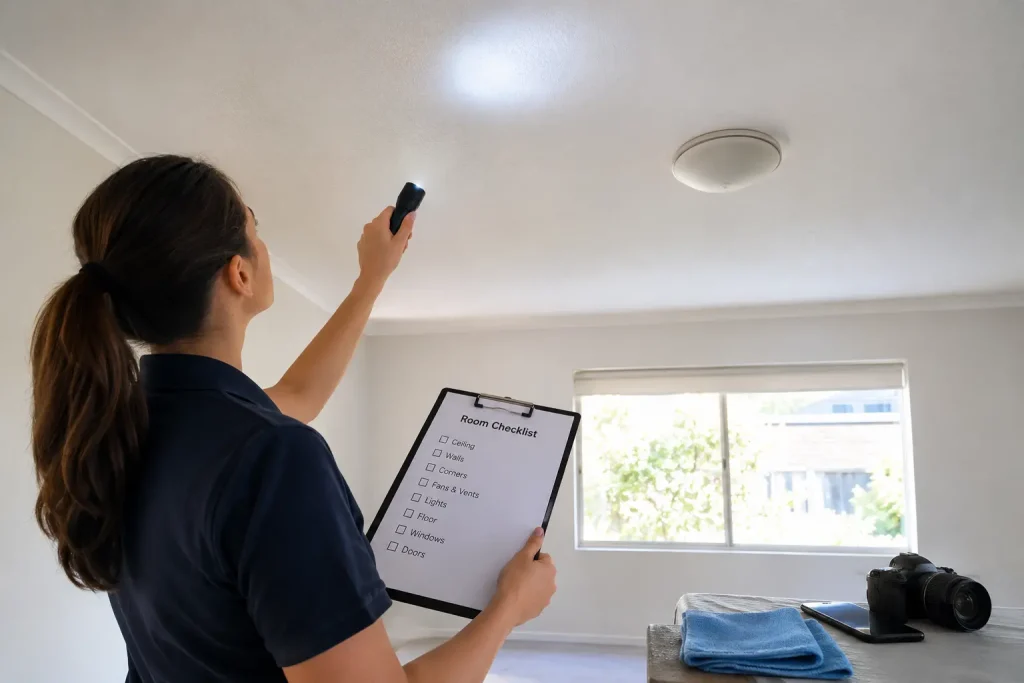
After cleaning, view the ceiling from different angles. Now switch on the room light and observe the surface closely. One more tip for thorough cleaning you can mark rooms with a room list, so you don’t forget any areas. It’s very useful to check a stained floor under natural light as you may not even spot it under regular lights. Look for cobwebs spots, dust or streaking. Also, you might want to compare your final state with your initial survey. Photograph each room, as well as any areas that needed special attention. Retain copies of your condition reports and any pertinent correspondence with your property manager. These records may be useful if there are questions about cleaning or bond deductions.
When Professional Cleaning Helps
Doing the cleaning jobs yourself on the ceiling is only suitable when you want to remove some dust, cobwebs or little dirt spots. There are situations when you are in need of specialized tools or being highly-advanced is required. Extremely high ceilings are not easy to access safely. Heavy nicotine staining, severe mould, ingrained grease and significant water staining can also need expert treatment. Before deciding on a cleaning technique, window cleaners are able to inspect the ceiling surface. In other words, double-check the details on the rental contract and your province’s rules on rentals to avoid problems, when you want to hire someone professional.
Final Thoughts
Learning how to clean rental ceilings can help you achieve a more thorough final clean. Start by removing loose dust and cobwebs, then gently clean suitable marks. Pay special attention to kitchen and bathroom ceilings, corners, cornices, fans and vents. Use minimal moisture and avoid abrasive cleaners or harsh chemicals. Never paint over mould, mould-like growth or watermarks without addressing the underlying issue. Report signs of leaks or dampness to the property manager. Proper preparation and careful cleaning can help reduce the risk of missed areas during the final inspection, particularly if you’re concerned about what happens if bond clean fails inspection more than once.
Frequently Asked Questions
1. How often should rental ceilings be cleaned?
Clean ceilings during routine deep cleaning and before moving out. Remove cobwebs and visible dust whenever they appear.
2. Can I use vinegar on a rental ceiling?
Avoid using vinegar without checking the ceiling finish first. Some painted surfaces can react poorly to acidic cleaning solutions.
3. How do I remove the ceiling mould before inspection?
Use a suitable mould product carefully and follow its instructions. Report recurring mould linked to dampness or building problems.
4. Should I clean the ceiling before the final inspection?
Yes, remove visible dust, cobwebs and suitable surface marks. Compare the result with your original condition report before inspection.
Related Posts

The Importance of Indoor Air Quality for a Healthy Home
When most people consider air pollution, they tend to think of something outside the house.…

The Complete Guide to Cleaning Venetian Blinds and Tracks
Cleaning Venetian Blinds & Tracks: A Complete Guide Do you get sick of dusty Venetian…

How to Use a Basic Homemade Cleaner to Clean Leather
DIY Leather Cleaning Guide with Natural Ingredients Have you ever stared at your leather sofa…